What You Need
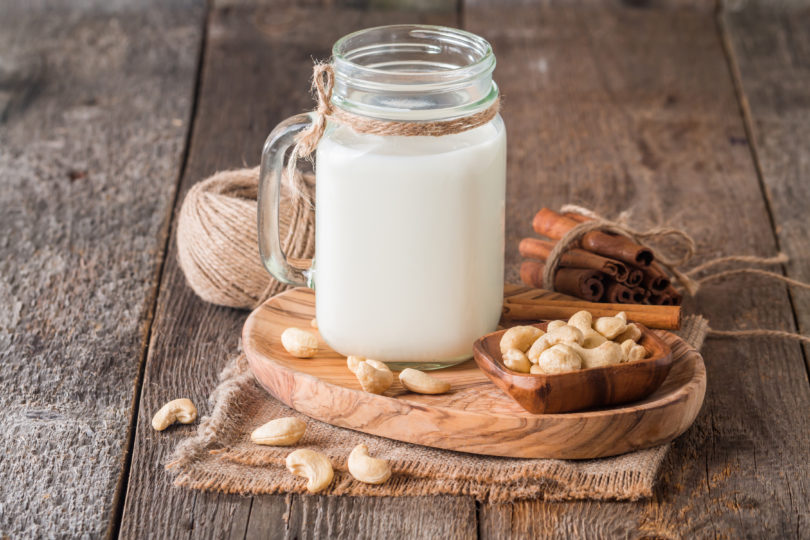
- 1 cup raw, unsalted cashews, or any raw nuts without skins
- 2 cups water, plus more for soaking
- Sweeteners, such as honey, sugar, agave syrup or maple syrup
Instructions
Place the nuts in a medium bowl and cover with about 1 inch of water. Cover with a cloth and let sit overnight at room temperature or for up to 2 days in the refrigerator. The nuts will plump as they absorb water and should feel a little squishy if you pinch them. The longer they soak, the creamier the milk will be.
Drain the nuts through a fine-mesh strainer or colander, then rinse thoroughly under cool running water. Place the nuts in a blender (or a food processor) and add the 2 cups of water. Pulse the blender a few times to break up the nuts, then blend on high speed for 3 minutes. The nuts should be broken down into a very fine meal, and the water should be white and opaque. (If using a food processor, process for 4 minutes total, pausing to scrape down the sides halfway through.)
Strain out the nut meal by lining the fine-mesh strainer or colander with either an opened nut bag or 2 layers of cheesecloth and set over a measuring cup or bowl. Pour the nut mixture through the strainer. Gather the nut bag or cheesecloth around the nut meal and twist close. Squeeze and press with clean hands to extract as much nut milk as possible. You should get about 2 cups.
Add sweetener to taste. Store in sealed containers in the refrigerator for up to four days. If the milk separates, just shake to recombine.
Note: Don’t throw away the strained nut pulp! Instead, freeze in ice-cube trays to toss into smoothies, add to batters, pancakes or oatmeal, or spread on a baking sheet and bake in low oven, 2-3 hours, until dry. This meal can be frozen and used later in baked goods.